
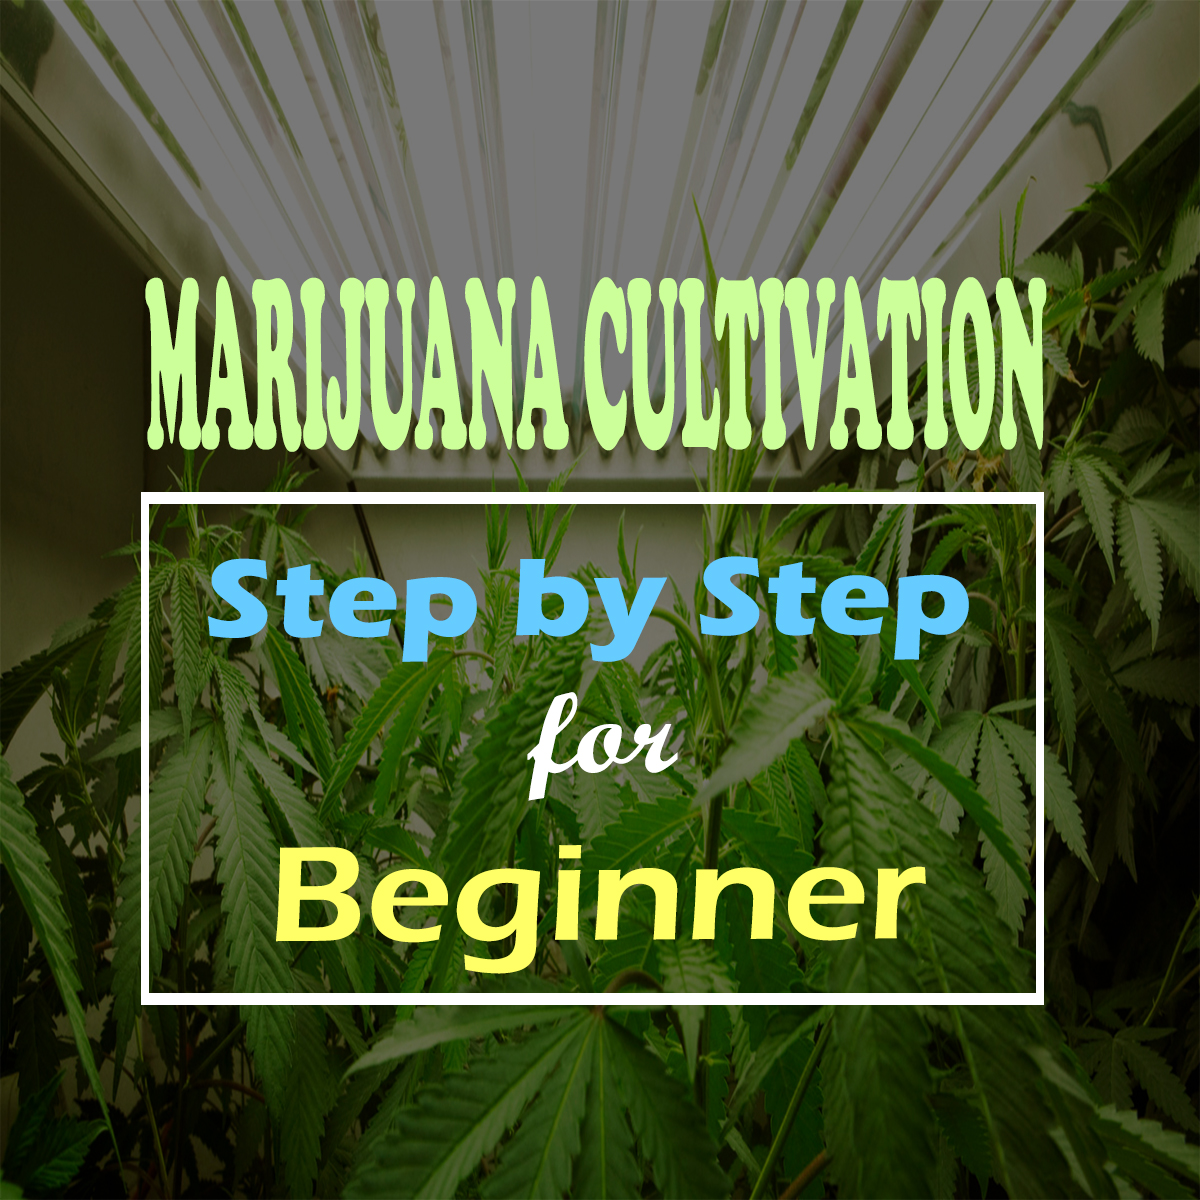
Growing marijuana can be a rewarding and enriching experience. The stigma that came with marijuana growth and dispensation has now been removed with recent legalization in locations including San Francisco and New Jersey. Marijuana is not just a plant but a superfood with innumerable benefits. It provides pain relief to the sick, helps prevent and treat illnesses and releases brain enhancing compounds to those who consume it in its many formats. Below is a simple step by step guide to cultivating marijuana.
Marijuana Cultivation basics
It should be noted that there are many different ways, methods and preferences in terms of growing marijuana. While there is no “best” way there are certainly good practices which need to be adhered to. And it is best for beginners to use simple methods for marijuana cultivation. It takes roughly 4 months for marijuana to go from seed to product. It is a resilient plant that will also grow in difficult conditions, meaning it is perfect for beginners to experiment with. However, while it does grow in less than ideal conditions this may also mean that the end product is not as favorable. There are an infinite variety of ways to cultivate marijuana and a dizzying array of equipment and growing techniques. This is an article for beginners and we have kept it as simple as possible for this reason.
Step One – The Location
The first step is choosing where you are going to grow your marijuana. For beginners, it is best to grow indoors as it is not weather dependent. You need to find a location that
- Is Discreet (even if legal, somebody may steal your product)
- Near a Window or near a vent
After this, purchase some marijuana seeds online. There are a number of vendors available. Select only the best, as high-quality seeds will turn into high quality buds. The seeds need to be hard and light brown in color(usually). Get feminized seeds where possible.
Step Two – The Equipment
Once a location is chosen it is time to purchase the equipment for marijuana production. You will need
- A Powerful Light Source
- A Fan
- A Growing Tent
- Smell filter, Fertilize, Pot and Potting Mix.
There are pros and cons to all the equipment. For example, High Intensity Discharge Lamps (HIDL) will give huge buds, however the electricity costs will be huge. The flip side is they are cheap to buy. Only get these if you are the one paying the electricity bills. Otherwise you may end up with one angry flat mate. Compact florescent lights are a good alternative. They work very well for small growing operations, are fairly cheap and do not use much electricity. There is much that could be discussed in terms of the equipment, it is important to do your own research and find a mix that suits your needs. It depends on what you are growing, what you expect and how many plants you intend to grow
Step Three – Germination
Now that you have your setup and your seeds, it is time for the seeds to germinate. Plant as many seeds as you wish or have space for. If you have half male and half female seeds, remember to plant double, as only the females give birth to buds. Soak a peat pellet in water and put each seed a half inch deep. Put all peat pellets into a plastic container and leave at room temperature. After 3-7 days, the plant should sprout. Switch on the lights, and make sure to keep the plants moist. When roots grow out the sides quickly transfer the plants to a pot with potting mix.
Step Four – The Growing Process
Water the plants regularly when the soil is dry. There is no hard and fast rule with this, over-watering will kill the plants and under-watering will do the same thing. Generally, if the soil feels warm then you should water it. The light is 18 hours on and 6 hours off for the next 3.5 weeks. When the plants are 2 weeks old it is time to add fertilizer. A general rule is that for every three times you give fertilizer, you water the plants once to maintain a healthy ratio.
Step Four – The Flowering Process
The plants are now in the flowing stage. Switch the lights to 12 hours on and 12 hours off. Four weeks into this stage and you should start to see plant buds. If you have male seeds, it is now time to eliminate male plants.
Stage Five – The Finish
Around 2-3 months into the flowering process, the buds will grow and it is time to harvest them. Make sure to water and fertilize the plants regularly. When the white hairs turn brown it means the buds are ripe. It is now time to cut the plants, trim the buds and enjoy the fruits of your labor.
Is Marijuana Cultivation for you?
I hope you enjoyed this Marijuana cultivation step by step for beginners. If this process is too much for you, then consider applying for a medical marijuana license and buying weed online. Growing weed should be an enjoyable process, not a job to be attended to.


